Rapid Germination of Rhapidophyllum hystrix
I never had much success with germinating Rhapidophyllum hystrix - until I came up with this new method. It seems to work best if the seeds are slightly dehydrated so that endosperm has separated from the seed wall. I generally don't harvest seed until early winter (January, USDA zone 7a), and by the time I get to them they are already partially dehydrated.
-
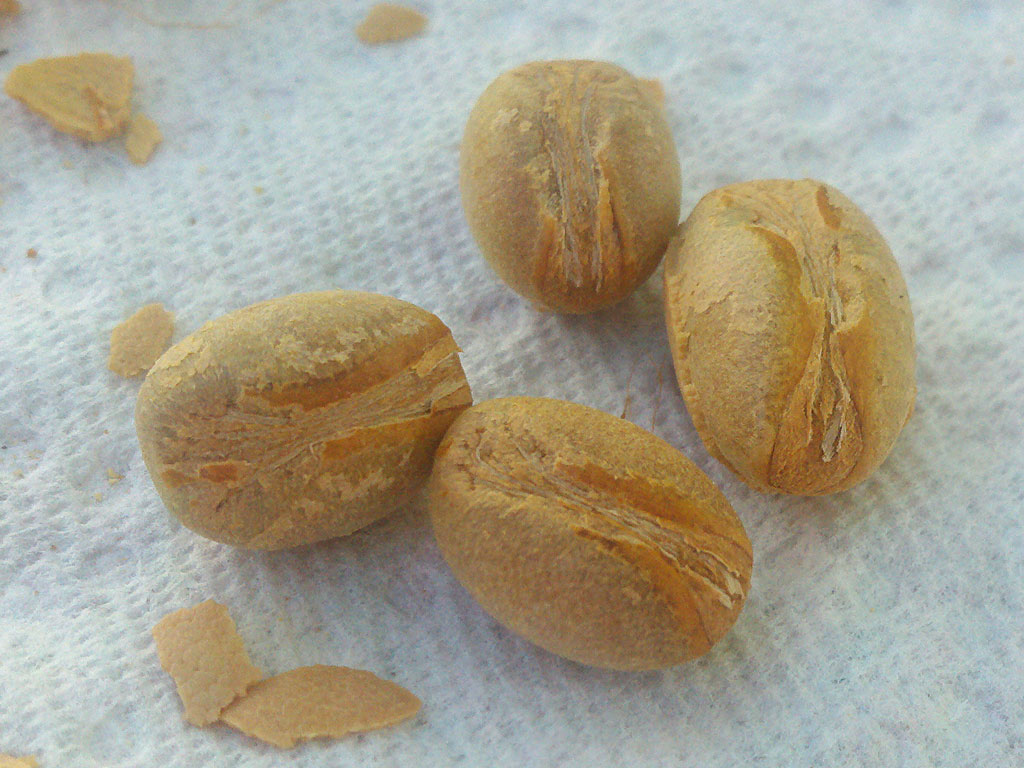
Clean the lovely-smelling pulp from the seeds. You'll want to wear gloves as the pulp smells like baby's vomit (or parmesan cheese - same smell) and the odor will linger on your skin for quite a while.
Cleaned seeds:
-
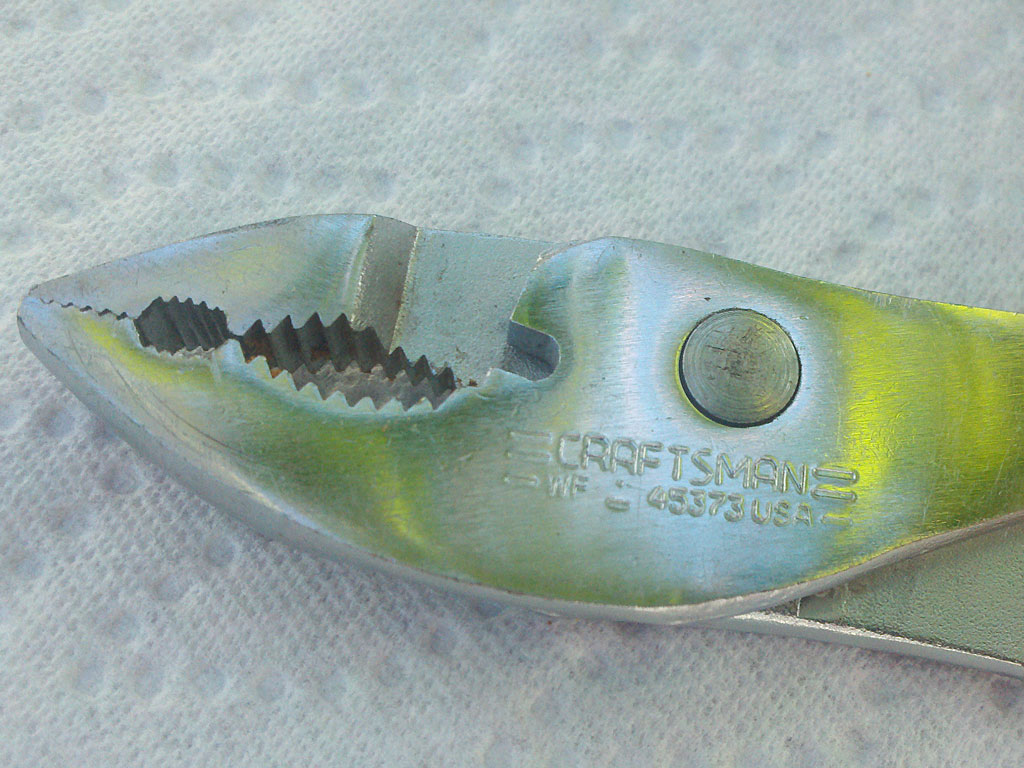
Make sure you have the right tool for the job -a standard pliers to crack the outer shell.
Standard pliers:
-
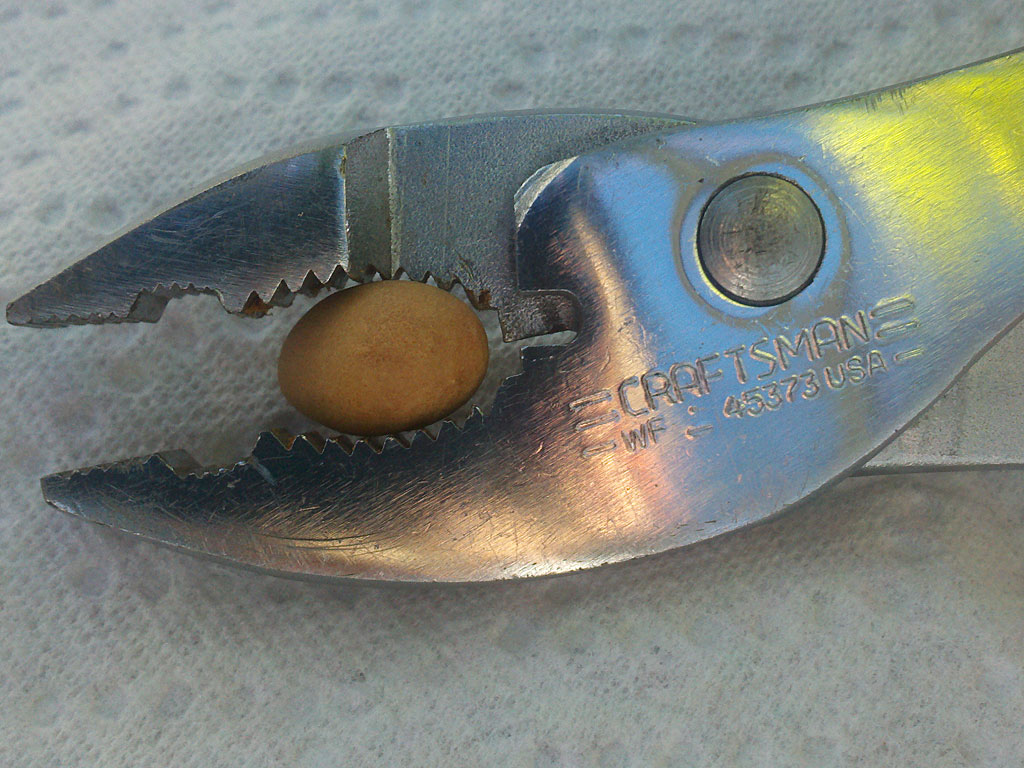
Proper use of the tool is important. Make sure you position the seed in the business end of the pliers and not in the handle. :) After properly positioning the seed in the pliers, gently apply pressure until an audible crack is heard.
Proper pliers/seed relationship:
-
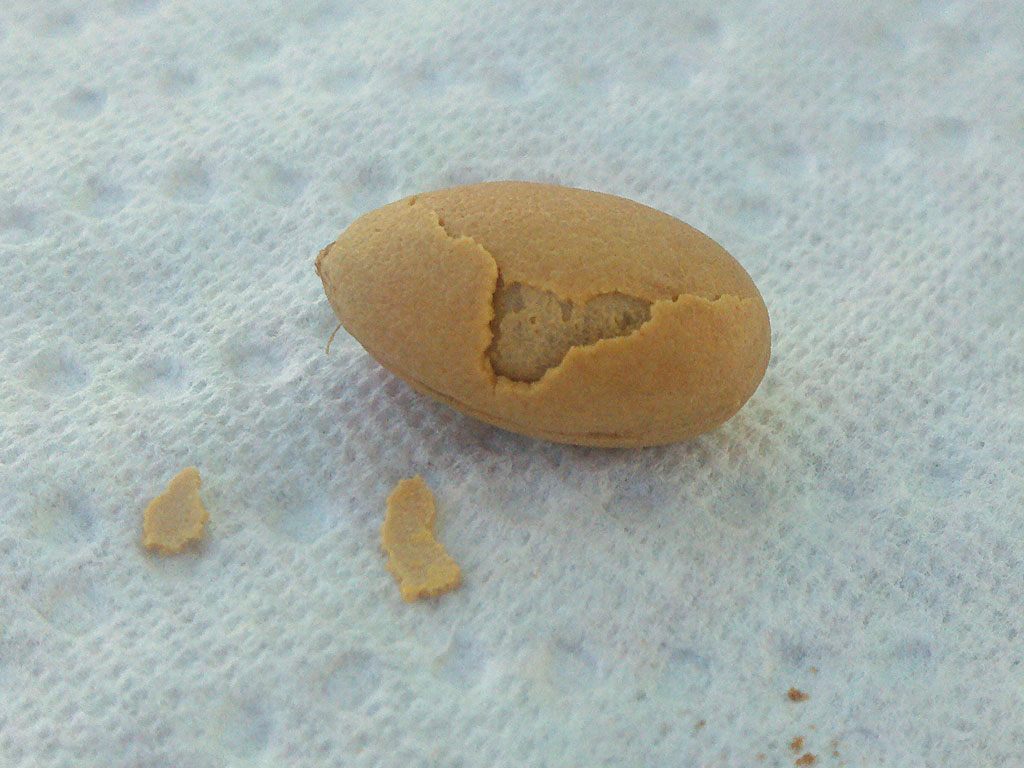
After hearing the crack, remove the seed from the pliers and inspect. There should be visible a crack somewhere in the shell.
Cracked shell:
-
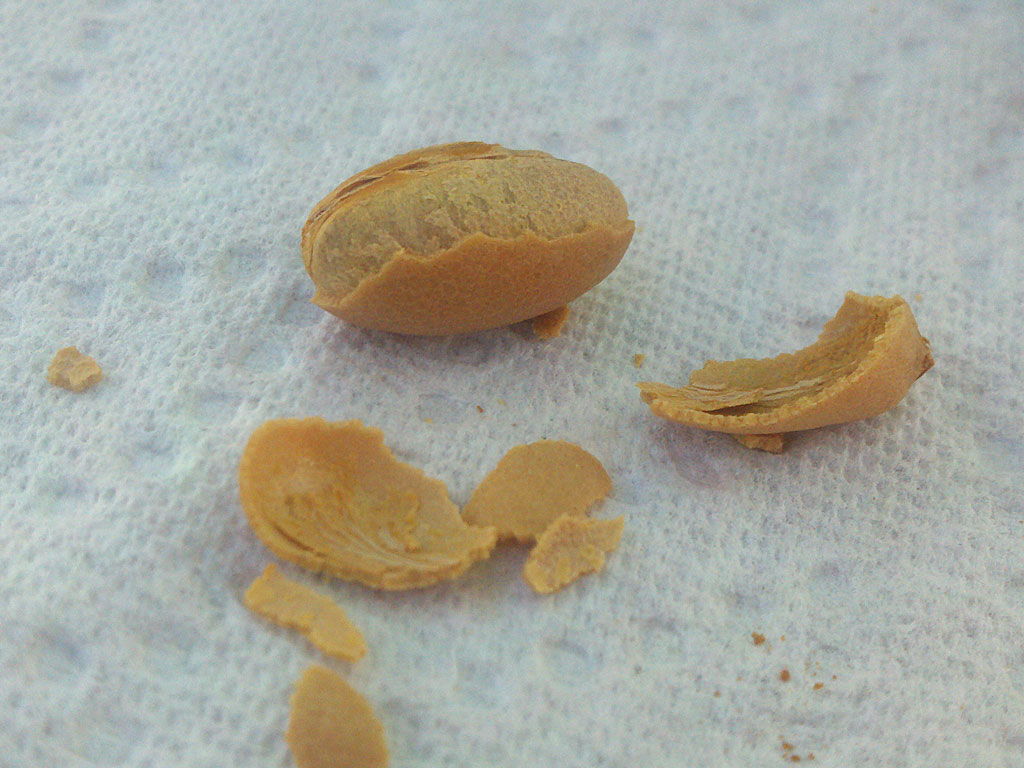
Attack the crack! Start chipping away at the shell, removing as much as possible. The more dehydrated the seed, the easier the shell will be to peel away.
Removed shell:
-
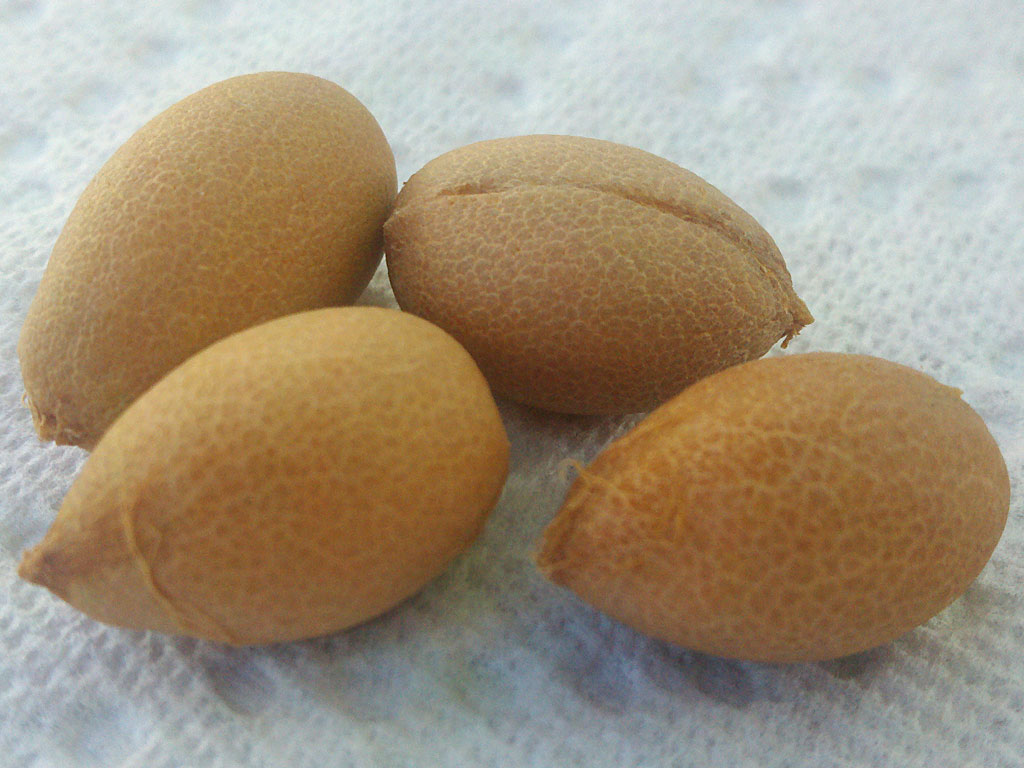
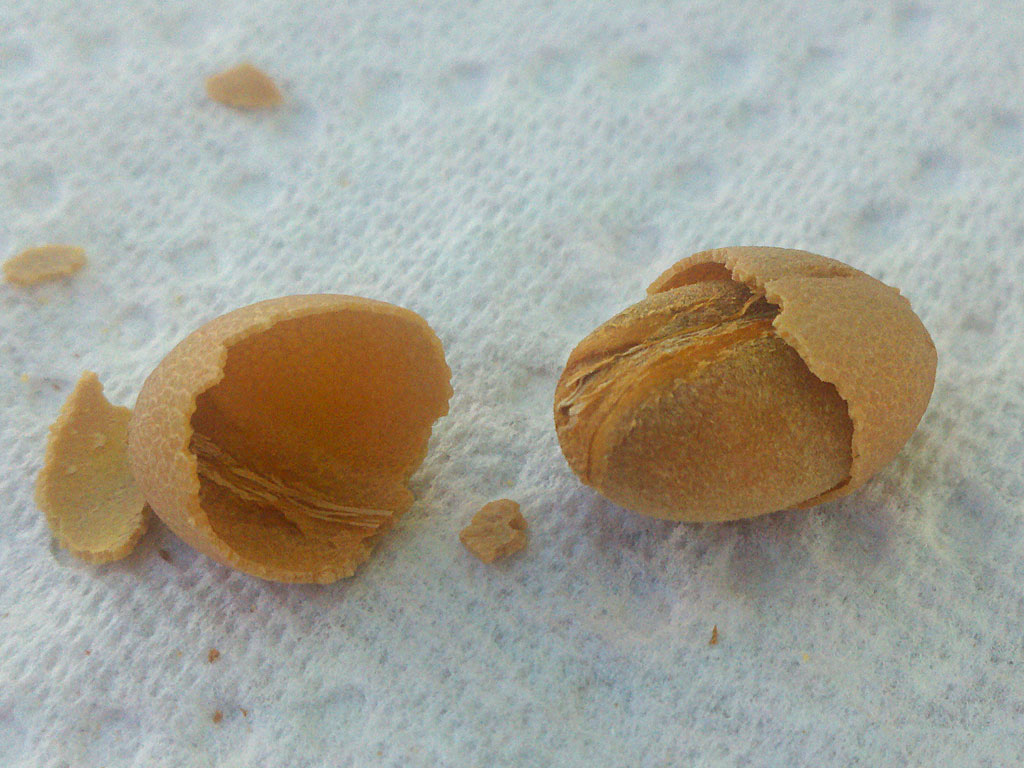
Sometimes you will get lucky and the shell will cleanly separate from the seed.
Cleanly-separated shell:
-
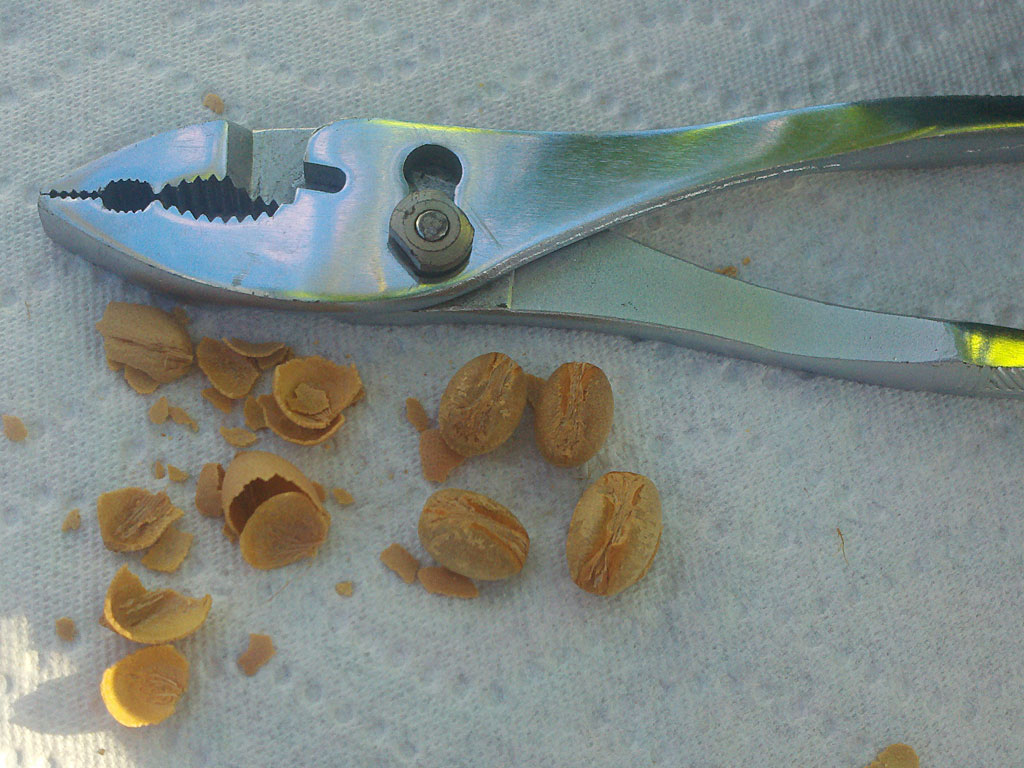
A brief summary.
Tool, seeds and empty shell fragments:
-
The final product - shell-less seeds that are ready for any germination method you prefer. I've been using the baggy method exclusively with much success. After using this treatment last year, I had seeds germinating in only a few weeks! For best results, soak the seeds for a day or two before bagging.
Shell-less seeds ready for soaking, planting and rapid germination: